
How to Maximize Space in Your CrossFit Garage Gym
Turning your garage into a CrossFit gym is a great business idea considering the popularity of cross-functional workouts or WODs (workouts of the day) among people.
However, people often have second thoughts about opting for a personal or professional gym based on the “vibe” or “atmosphere” they feel as soon as they enter the gym. A cluttered, mindlessly assembled fitness space looks like a storage room, especially when you’re trying to coach someone else in it.
The key to make your garage feel spacious, motivational and clean lies in smart organization, flexible storage, and a layout that allows you to train 1-2 clients simultaneously while leaving enough room for you and your clients without risking any obstacles and accidents.
Let’s walk through how to turn even a modest garage into a fully functional and spacious CrossFit gym that feels great to train in and to coach from.
Start With Versatile Gear That Earns Its Keep
There’s the thrill of building a setup that’s fully equipped, we get it but when you’re tight on room, every piece of equipment needs to justify the space it takes up. That means picking gear that works double or maybe triple duty in your training.
Kettlebells are one of the smartest starting points. Whether you're working on explosive power, grip strength, metabolic conditioning, or core control, there’s almost nothing they can’t do. If you’re running CrossFit-style circuits or EMOMs, they’re a must-have.
Your barbell and bumper plates will likely be the center of your strength setup. From deadlifts to cleans to overhead presses, a good barbell set lets you train compound lifts in a compact footprint.
Also, don’t forget the fundamentals. A solid pull-up bar mounted high on a wall or ceiling can be used for kipping, strict pull-ups, toes-to-bar, and hanging mobility work.
Medicine balls are essential for wall ball shots and slams, and a sturdy plyo box opens up a world of step-ups, jumps, and elevated push-ups. Finally, stash a jump rope somewhere nearby—it takes up no space and gives you a full-body cardio hit in minutes.
Smart Storage Makes Everything Work Better
Clutter is the quickest way to kill a home gym vibe. There’s nothing motivating about tripping over a dumbbell or kicking a kettlebell mid-set.
Storage racks come in not just as a convenience, but as an essential part of your gym’s design.
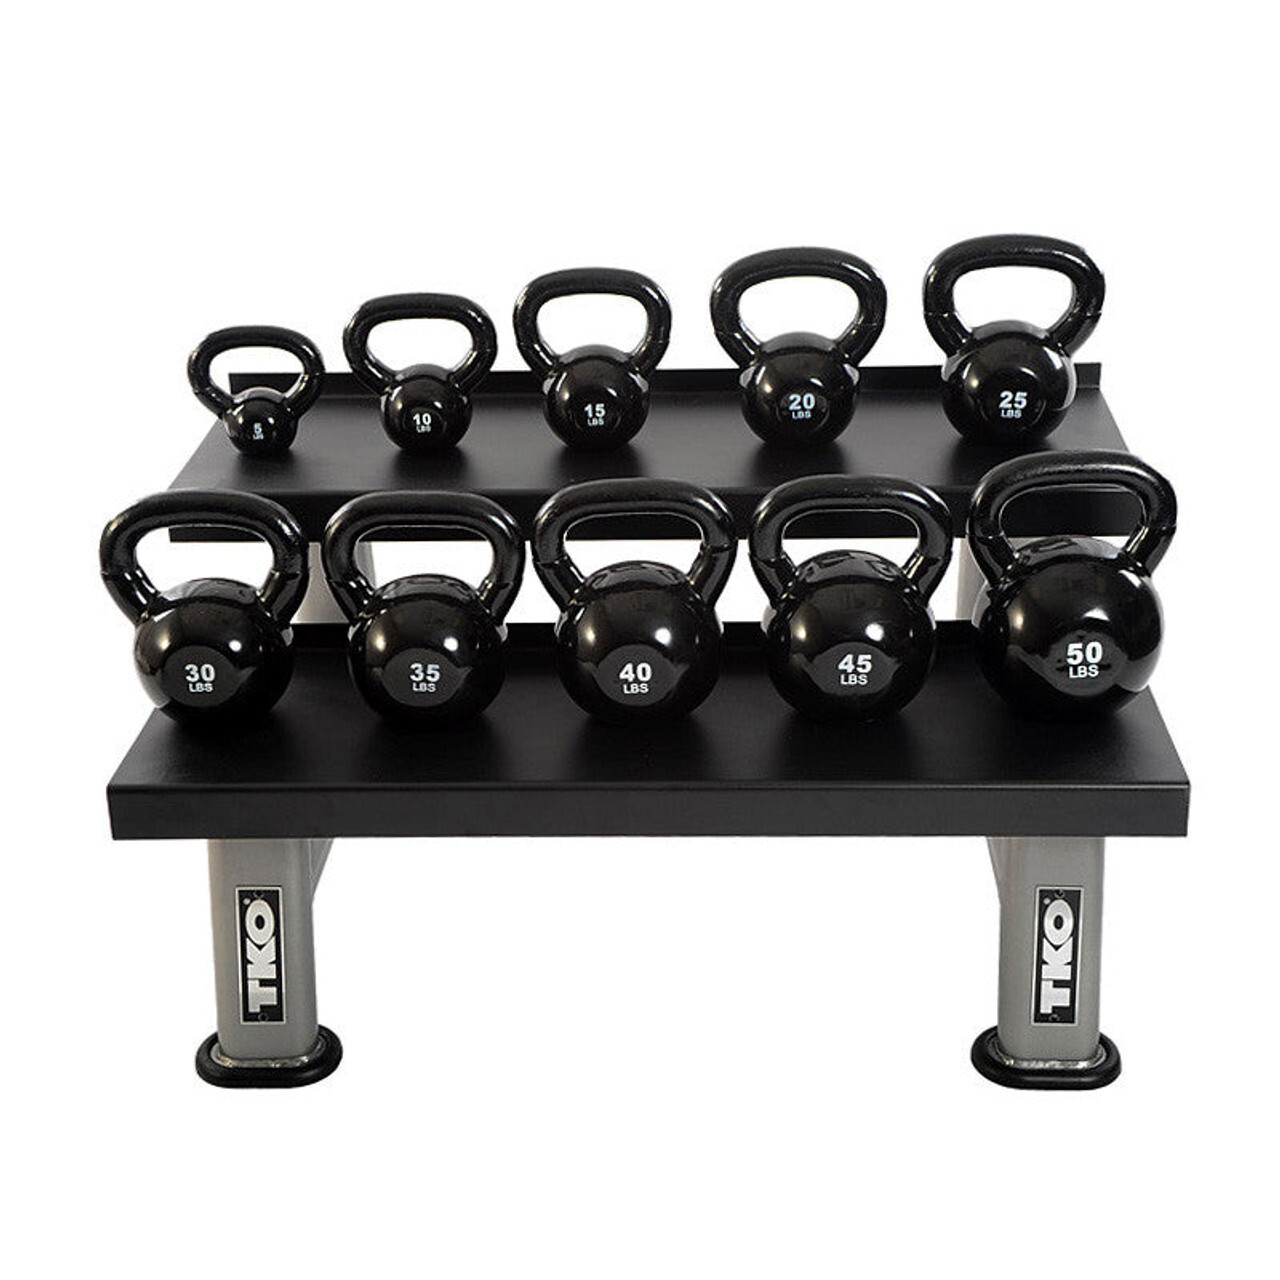
For your kettlebells, the TKO Strength Kettlebell Rack is one of the best pieces of kit you can get your hands on. It’s built to save space while keeping everything in easy reach. The 2-tier structure means you can store multiple sizes without stacking or scattering them across the floor. Plus, the open-frame design makes grabbing the right weight quick.
Barbells, bands, and other long items are perfect candidates for wall-mounted storage. You’re not using that vertical wall space anyway, so why not hang your accessories up and free up the ground?
If your garage has higher ceilings, consider installing an overhead storage rack. Mats, foam rollers, or even seasonal workout gear like battle ropes can live up there so they don’t get in the way.
For the small stuff like wraps, clips, resistance bands, chalk, and gloves, use bins or a closed cabinet. Just label everything clearly so you don’t have to hunt for stuff mid-workout.
Layout Can Make or Break Your Sessions
Next comes the layout. How you arrange your gear matters a lot because a smart layout means less time moving between exercises and more focus on training.
So, set off by keeping your most used gear in the middle or at arm’s reach. You shouldn’t have to walk across the garage to grab your kettlebells or dig through a bin to find your jump rope. Design your space so that your “go-to” items are always right there, within your sight.
Splitting the space into zones also helps. One part of the garage can be your lifting zone, where your rack or platform sits. Another area might be where you do conditioning or mobility.
We know this sound overly structured, but it’s about creating enough flow that you can switch from squats to kettlebell swings without stepping over stuff or dragging equipment around.
And please, leave room to move. At a minimum, give yourself and your client enough open floor space where you both can simultaneously and safely do burpees, jump rope, or move through a barbell complex without any risk of injury.
Keep the Space Clean
You don’t need a gym that looks like a hotel fitness center, but you should want to walk into the space and feel ready to train. That means keeping it clean.
Make it a habit to sweep and wipe down the gear regularly. Not only does this prevent accidents and keep equipment in good condition, but it also makes the gym feel fresh and inviting.
A few small aesthetic touches go a long way. Like mirrors can help with checking form (and make the space feel bigger). Put up a couple of prints or posters that fire you and your clients up or even a board to write your WOD or track your PRs (personal records).
And don’t underestimate good lighting. Bright, natural-feeling light makes morning workouts less of a slog and evening sessions safer.
Leave Room to Grow
Lastly, leave some space for future purchases. Every tool in the garage gym playbook has a place, but only if you have a way to store it.
Your garage gym doesn’t need to be perfect on day one, but it should be adaptable. You’ll likely want to add to it as you progress. So, choose gear that’s modular or adjustable when possible. An adjustable bench or collapsible squat stand can save space today and serve you better in the long term.
When you’re picking storage solutions, think ahead. For instance, buy the rack that holds 12 kettlebells, not just 6, even if you only have a few for now.
It’s also smart to leave a little empty wall or floor space. That way, when you fall in love with a new training style for your clients (like sandbag carries), you won’t have to reshuffle the whole room.